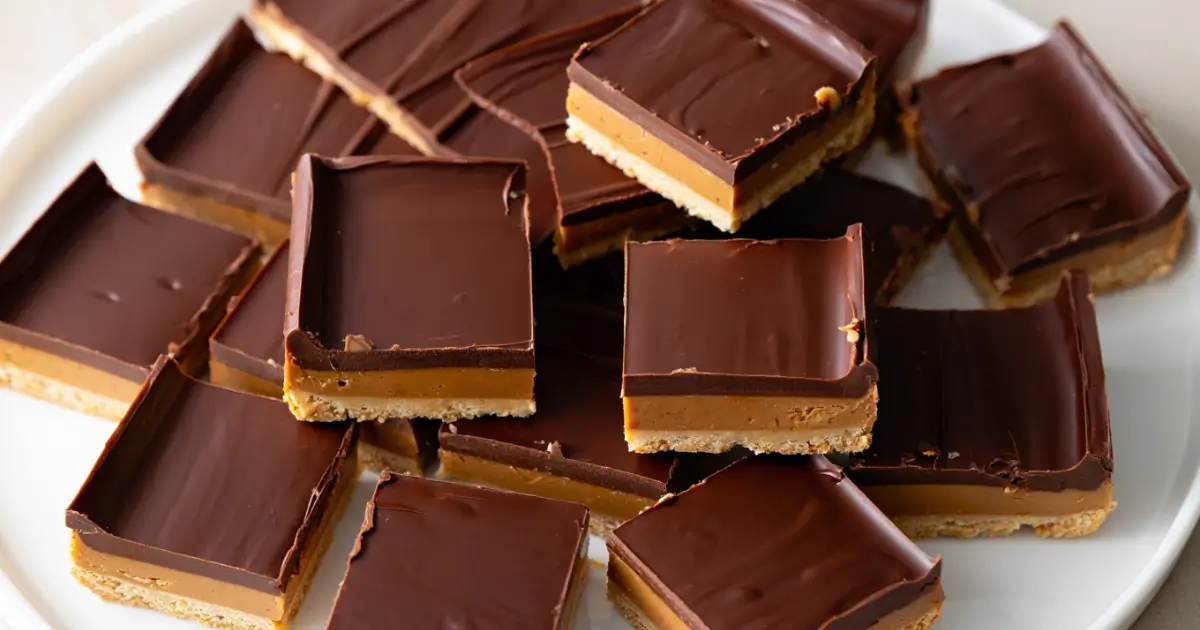
Peanut Butter Bars Recipe: A Sweet and Simple Treat
Peanut Butter Bars are one of those classic desserts that everyone seems to love. They strike the perfect balance between rich peanut butter flavor and a smooth chocolate topping, all layered over a simple no-bake base. What makes them truly special is how easy they are to prepare—no oven required, no complicated steps, just a handful of pantry staples that come together in minutes.
These bars are ideal for so many occasions. You can whip up a batch for school lunches, holiday cookie trays, potlucks, or just to have something sweet on hand at home. They’re crowd-pleasing, travel well, and store beautifully, making them one of the most reliable treats you can make. Plus, with endless ways to customize—whether by adding crunchy nuts, swapping chocolates, or boosting them with protein—they’re as versatile as they are delicious.
If you’ve been searching for a dessert that combines simplicity, flavor, and a guaranteed “wow” factor, Peanut Butter Bars should be at the top of your list. Once you make them, you’ll understand why they’ve become a staple in so many kitchens.
Table of Contents
Ingredients (Peanut Butter Bars Recipe)
Here’s what you’ll need to make a classic batch of Peanut Butter Bars:
- 1 cup (240 g) creamy peanut butter
- ½ cup (115 g) unsalted butter, melted
- 2 cups (200 g) graham cracker crumbs
- 2 cups (240 g) powdered sugar
- 1½ cups (270 g) semisweet chocolate chips
- 2 tablespoons peanut butter (for chocolate topping)
Ingredient Notes and Substitutions
- Peanut butter – Creamy peanut butter works best for smooth bars, but crunchy peanut butter adds great texture. Avoid natural peanut butter that separates, as it can make the bars greasy.
- Graham cracker crumbs – If you don’t have graham crackers, try digestive biscuits or even crushed vanilla wafers.
- Butter – Unsalted butter keeps the flavor balanced. If you only have salted, reduce any added salt in the recipe.
- Chocolate chips – Use semisweet for balance, but milk chocolate will make them sweeter, while dark chocolate adds richness.
- Powdered sugar – Essential for sweetness and structure. Don’t swap with granulated sugar—it won’t blend smoothly.
Step-by-Step Cooking Instructions
Step 1: Prepare the Peanut Butter Base
- In a medium bowl, combine the melted butter and 1 cup of peanut butter. Mix until smooth.
- Add graham cracker crumbs and powdered sugar. Stir well until everything is evenly combined and no dry crumbs remain.
Step 2: Press Into Pan
- Line a 9×13-inch baking dish with parchment paper for easy removal.
- Press the peanut butter mixture firmly and evenly into the bottom of the pan. Use the back of a spoon or an offset spatula to smooth the surface.
Step 3: Make the Chocolate Topping
- In a microwave-safe bowl, combine chocolate chips and 2 tablespoons of peanut butter.
- Microwave in 20-second intervals, stirring between each, until melted and smooth.
- Pour the chocolate mixture over the peanut butter layer and spread evenly with a spatula.
Step 4: Chill and Slice
- Refrigerate for at least 2 hours, or until the chocolate topping is firm.
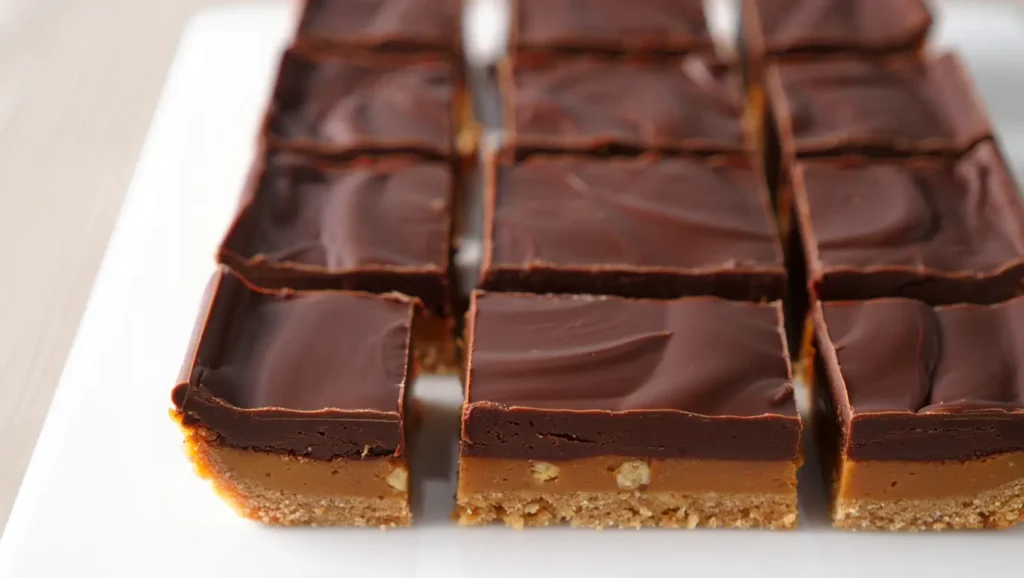
- Lift the bars out using the parchment paper, then cut into squares or rectangles.
Tips for the Best Peanut Butter Bars
Getting perfect Peanut Butter Bars is all about a few simple tricks that make the process easier and the results more impressive. Keep these tips in mind:
- Use room temperature peanut butter – Softer peanut butter blends more easily with the melted butter and sugar, creating a smoother base.
- Line the pan – Always use parchment paper or foil. It makes removing and slicing the bars effortless while keeping your pan clean.
- Don’t rush chilling – Give the bars enough time in the fridge to set fully. This ensures neat, even slices and prevents the layers from separating.
- Warm your knife – Run a sharp knife under hot water, dry it, then slice. This helps cut through the firm chocolate layer without cracking.
- Double the recipe – Peanut Butter Bars freeze exceptionally well, so consider making a larger batch. You’ll thank yourself later when you have an instant dessert ready to go.
Delicious Variations
One of the best things about Peanut Butter Bars is how adaptable they are. With just a few simple tweaks, you can give them a completely new personality while keeping that same nutty, chocolatey goodness. Here are some delicious variations you might enjoy:
- Peanut Butter Cup Bars – Chop mini peanut butter cups and sprinkle them over the base before adding the chocolate topping. This adds extra bursts of peanut butter and chocolate in every bite.
- Oatmeal Peanut Butter Bars – Replace half the graham cracker crumbs with quick oats. The oats give the bars a chewier, heartier texture, making them taste almost like a no-bake cookie.
- White Chocolate Topping – Swap semisweet chocolate chips for melted white chocolate. This makes for a sweeter, creamier topping that pairs beautifully with the peanut butter base.
- Nutty Crunch – Stir chopped peanuts, almonds, or cashews into the peanut butter layer for a crunchy surprise. This version is perfect if you love texture in your desserts.
- No-Bake Protein Bars – Add a scoop of vanilla protein powder to the base mixture before pressing it into the pan. This transforms the recipe into a more filling snack that works great as a post-workout treat.
Storage Instructions
Peanut Butter Bars store wonderfully, which makes them perfect for preparing ahead or keeping on hand for quick treats. Here’s how to store them properly:
- Room Temperature – Keep Peanut Butter Bars in an airtight container at room temperature for up to 3 days. Choose a cool, dry spot away from direct sunlight so the chocolate layer doesn’t melt or soften too much.
- Refrigerator – For longer freshness, place the bars in a covered container in the fridge. They’ll stay delicious for up to 1 week, and the chilled chocolate topping will remain nice and firm.
- Freezer – Peanut Butter Bars freeze beautifully. Arrange cut bars in a single layer on a baking sheet and freeze until solid. Once firm, transfer them to a freezer-safe bag or container, separating layers with parchment paper to prevent sticking. They’ll keep for up to 2 months. When ready to enjoy, thaw them in the refrigerator overnight or let them sit at room temperature for about 20 minutes.
Prep Time, Cook Time, and Servings
- Prep time: 15 minutes
- Cook time: 0 minutes (no baking required)
- Chill time: 2 hours
- Total time: About 2 hours 15 minutes
- Servings: 24 bars (depending on how you slice them)
Peanut Butter Bars Recipe: Why You’ll Keep Making Them
Peanut Butter Bars are the kind of dessert that always disappears quickly. They’re easy enough for beginners yet delicious enough to please a crowd. With just a handful of ingredients, no oven required, and plenty of ways to customize, they’re a dessert you’ll find yourself making again and again.
Another reason Peanut Butter Bars are so loved is their versatility. You can serve them chilled straight from the fridge for a firm, candy-like bite, or let them soften slightly at room temperature for a fudgier texture. They’re also perfect for making ahead—ideal for parties, potlucks, or even as a homemade gift. Unlike many other desserts, they hold up beautifully when stored properly, making them convenient as well as delicious.
If you enjoy experimenting in the kitchen, you’ll also appreciate how forgiving Peanut Butter Bars are. You can swap ingredients, try different toppings, or adjust the sweetness to your liking without worrying too much about ruining the recipe. It’s one of those desserts that gives you room to be creative while still guaranteeing a tasty result every time.
In short, Peanut Butter Bars are the ultimate combination of simplicity, flavor, and crowd-pleasing appeal. Whether you’re preparing them for your family, sharing them with friends, or keeping a stash in the freezer for quick cravings, they’re bound to become one of your most reliable dessert recipes. Once you’ve made them, you’ll understand why Peanut Butter Bars have earned a permanent spot in so many kitchens—they’re a treat you’ll want to bake (or rather, not bake) over and over again.